
Bucket elevator installation requires attention to detail to avoid potential inefficiencies, equipment malfunction, and premature wear. Through decades of experience, FEECO has developed a set of guidelines to ensure each elevator gets assembled and installed properly.
Bucket Elevator Construction
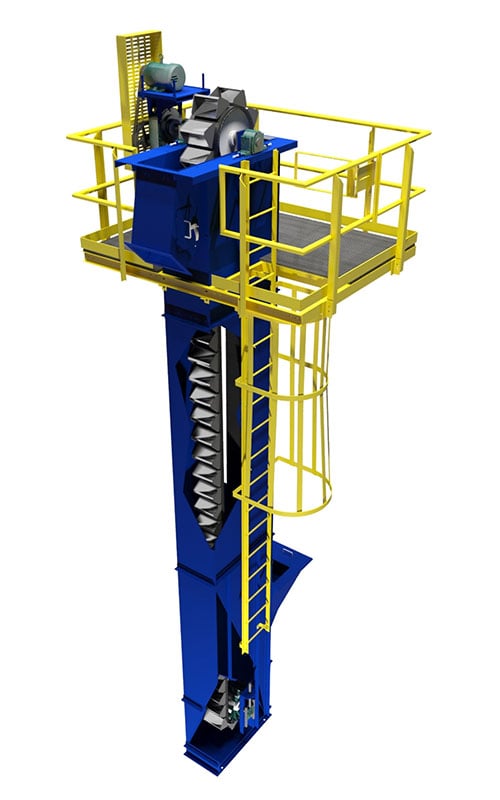
3D Rendering of a FEECO Bucket Elevator with cutaways illustrating construction
A bucket elevator can be broken down into a few primary components: the head assembly, intermediate assemblies, boot assembly, and bucket and belt/chain assembly.
Head Assembly
The head assembly is the driving force of a bucket elevator. The assembly includes the drive motor, gear reducer, head pulley, roller bearings, discharge chute, and throat plate. This sub-assembly is always the last to be installed, yet, it is important to ensure that the discharge chute is positioned correctly. The top section of the guard is removed after all of the components are installed for installing the bucket and belt/chain assembly.

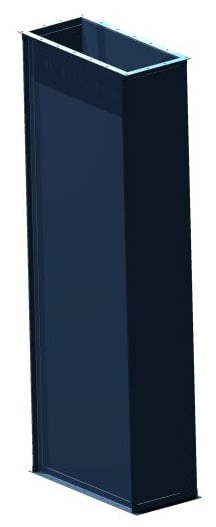
Intermediate Assembly
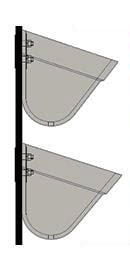
The intermediate assembly consists of a simple shroud used to guard the span between the head and boot assemblies. On most bucket elevators, several intermediate assemblies exist and all are identical. Each assembly consists of four structural corner supports for rigidity, as well as heavy-duty bolt flanges for proper alignment of each component. This design allows for custom heights and an extremely durable piece of equipment.
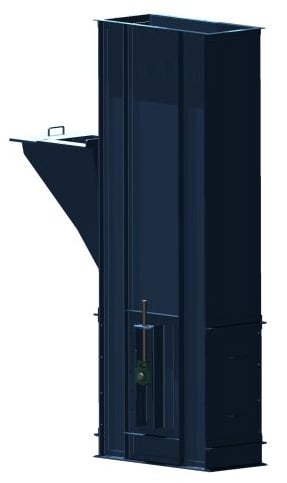
Boot Assembly
The boot assembly is crucial in the installation process; it is the first component installed and requires the most amount of attention. This assembly includes the take-up (belt/chain tension adjustment), boot pulley, roller bearings, and inlet chute (throat plate may be required on continuous style elevators).
Designed with additional structural supports, the boot assembly is engineered to double as the base-mounting point for the elevator. This assembly is also equipped with removable access panels and doors for initial adjustment and routine maintenance.
Bucket & Chain Assembly
A bucket and chain assembly is available on both centrifugal and continuous style elevators. Each bucket mounts to the chain in its corresponding mounting holes and is fastened together with the specified hardware.
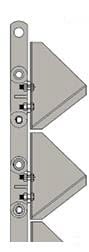
Bucket & Belt Assembly
As an alternative to the chain, continuous and centrifugal elevators may instead employ buckets mounted on a belt. Each bucket mounts to the belt in its corresponding mounting holes and is fastened together with the specified hardware.
Disclaimer: While the text below provides a general overview on installing bucket elevator components, installation should only be performed under the supervision of a FEECO Service Engineer. The service engineer is a trained professional that will ensure all components are assembled and operating correctly. Installation of the equipment without a FEECO service professional on site could result in improperly installed or damaged equipment, and may even void the manufacturer warranty. The service engineers at FEECO are also trained and certified in the appropriate safety procedures, which must always be followed when installing a bucket elevator.
Bucket Elevator Installation Guide
Installing the Boot Assembly
Securely mount to either the floor or a concrete pad with anchor bolts.
Shim and adjust the assembly until it is plum and level. Since this is the starting point of the elevator, any inaccuracy at this stage will be amplified as the height increases.
After the boot assembly is level and plum, grout is poured around the base. This builds additional support and seals up any gaps that may exist.
Installing the Intermediate Assembly
All of FEECO’s elevator components are designed with matching bolt flanges; when installing intermediate sections, align the flanges and fasten them together using the specified hardware.
Periodic checks for level and plum should be carried out as well.
Bracings or tie-ins to the building structure are required every 20 feet.
Installing the Head assembly
Align the bolt flange to the previous intermediate assembly and fasten together using the specified hardware.
Installing the Bucket and belt/chain assembly
Remove top section of the guard/casing at the head section.
Fasten the buckets to the belt or chain through the designated mounting holes using the specified hardware.
With the top guard section of the head assembly removed, feed a lifting cable or chain down to the boot.
Using this cable, lift the bucket and belt/chain assembly up through the elevator, around the head pulley, and back down to the boot.
Depending on chain or belt, join or splice the two ends together.
Initial startup
Retract throat plates as far away from the bucket as possible (these should be ½” away after all initial setup adjustments have been made).
With the belt option, an average 2% belt stretch needs to be accounted for during initial startup. The take-up, located on the boot assembly, is where this adjustment can be made.
With the chain option, 1” chain movement should be obtained. Again, this adjustment can be made at the take-up.
At FEECO, we take pride in how our equipment is designed, manufactured, and installed. It is important that we ensure our equipment is assembled correctly and operating at its full potential. While we have provided a general installation guide above, it is for this reason that a FEECO service engineer should always be present to oversee the installation and initial startup of each bucket elevator. For more information on our custom bucket elevators and installation support, contact us today!